Emergency & First Steps
What to Do in the First 24 Hours After Water Damage
7 min read · Last reviewed August 14, 2026
The first day sets the cost of everything that follows. Water that is removed in hours often means a dried room; water left overnight often means removed drywall, flooring, and insulation.
Work through these steps in order. Safety first, source second, documentation third — then drying.
Key takeaways
- Electricity and water together are the first hazard to address.
- Shut off the water supply before trying to clean anything up.
- Photograph and video everything before you move or remove it.
- Get air moving and moisture leaving the room within the first day.
Step 1: Make the area safe
Do not walk into standing water in a room with live outlets, submerged cords, or a wet electrical panel. If you cannot reach the breaker safely and dryly, call the utility or an electrician.
Treat water from sewage backups, toilet overflows past the trap, or outdoor flooding as contaminated. Avoid contact, keep children and pets out, and do not use a household vacuum on it.
- Cut power to affected circuits if you can do so from a dry position
- Watch for sagging ceilings — a bulging ceiling can release a large volume of water at once
- Wear boots and gloves; ventilate if you can do so without pulling in humid outdoor air
Step 2: Stop the water
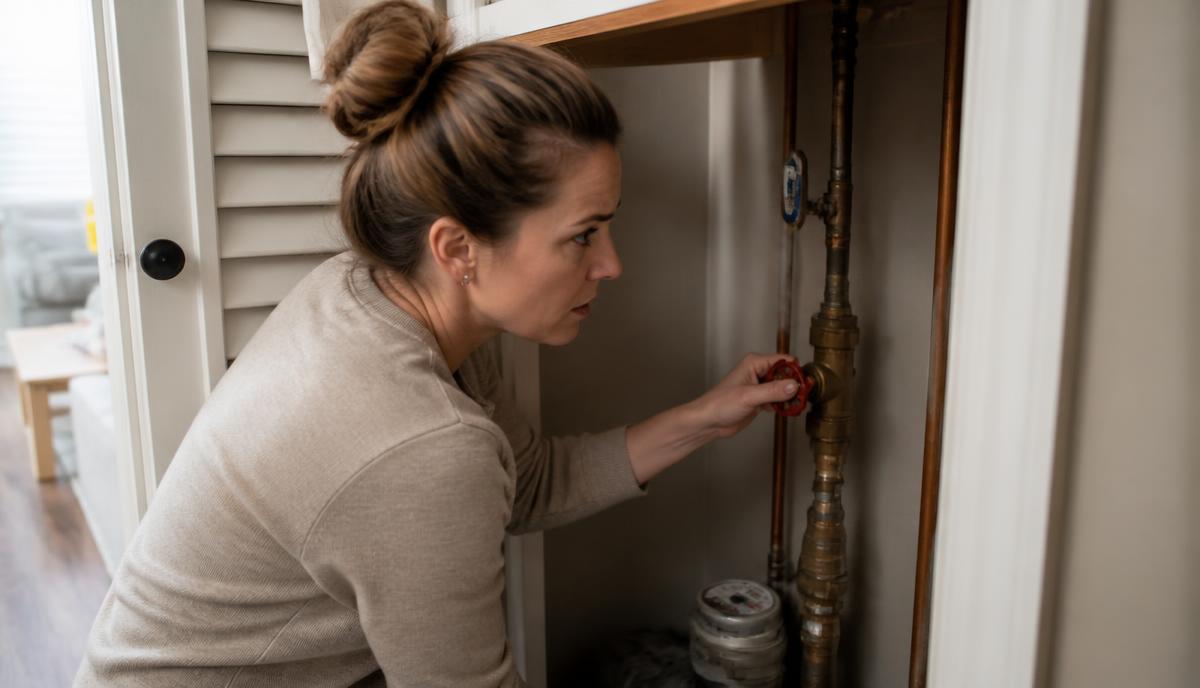
For plumbing failures, close the fixture shutoff if there is one; otherwise close the main. Everyone in the household should know where the main shutoff is and what tool it needs, before an emergency.
For roof or envelope leaks during a storm, you cannot stop the rain — so redirect it. Buckets, plastic sheeting, and a small drilled hole to relieve a bulging ceiling can limit the spread until conditions allow a proper look.
Step 3: Document before you touch anything
Photographs taken before cleanup are the strongest evidence you will ever have. Take wide shots that establish the room, then close-ups of the source, the water line on walls, and every affected item.
Add a short video walkthrough with narration — date, what you found, where the water came from. Note the time you discovered it. Keep receipts for anything you buy or rent.
- Wide, mid, and close-up photos of every affected room
- The failed component itself — the burst line, the appliance, the ceiling stain
- Serial numbers and model numbers of damaged appliances and electronics
- A written list of damaged contents with approximate age and value
Step 4: Remove water and start drying
Get standing water out with a wet/dry vacuum, pump, mops, or towels. Then lift what you can: pull up area rugs, move furniture off wet flooring, place foil or blocks under furniture legs, and take contents to a dry area.
Start air movement across wet surfaces and run a dehumidifier with the room closed. In humid climates, closing the space and dehumidifying beats opening windows.
Step 5: Notify the right people
Call your insurer early, even if you are unsure whether you will file. Ask what your policy requires you to do to mitigate damage — most policies obligate you to take reasonable steps, and doing so promptly supports your claim.
If you rent, notify the landlord or property manager in writing the same day. If you are a landlord or property manager, notify tenants of access needs and document your response times.
Questions homeowners often ask
What should I do immediately after water damage?
Make the area electrically safe, shut off the water source, photograph everything, then extract water and start drying. Notify your insurer the same day.
How long can water sit before causing damage?
Absorption begins immediately. Drywall wicks within an hour, and materials left wet beyond roughly 48 hours are much more likely to require removal rather than drying.
Should I turn off the water after a leak?
Yes. Close the fixture shutoff, or the main if there is no local valve, before beginning cleanup — otherwise you are cleaning up while the source continues.
When professional help makes sense
Call for professional help when water is contaminated, when it has entered wall cavities or a floor assembly, when the affected area is larger than you can dry in a day, or when ceilings and structure are involved.
Frequently asked questions
Continue reading
- Water Damage Checklist for Homeowners
A printable homeowner checklist covering safety, stopping the source, documentation, drying, insurance, and follow-up after water damage.
- What Happens During the Water Damage Restoration Process?
A step-by-step walkthrough of the water damage restoration process: inspection, water classification, extraction, removal, drying, monitoring, and clearance.
- How to Find Hidden Water Damage Before It Gets Worse
Hidden water damage shows up as smells, stains, and small changes long before it becomes visible. Learn where to look, what the warning signs mean, and which tools confirm moisture.
- What Homeowners Should Know About Water Damage and Insurance Claims
How water damage claims are generally evaluated, the difference between sudden damage and gradual leaks, what to document, and the order of steps that protects your claim.
- Water Damage Restoration Cost in Mobile, AL: What Homeowners Should Know
Understand what drives water damage restoration costs in Mobile, Alabama — from extraction and drying to hidden moisture, materials, insurance, and how to read an estimate.
Last reviewed August 14, 2026. This guide is general educational information and is not a substitute for an on-site assessment of your property.